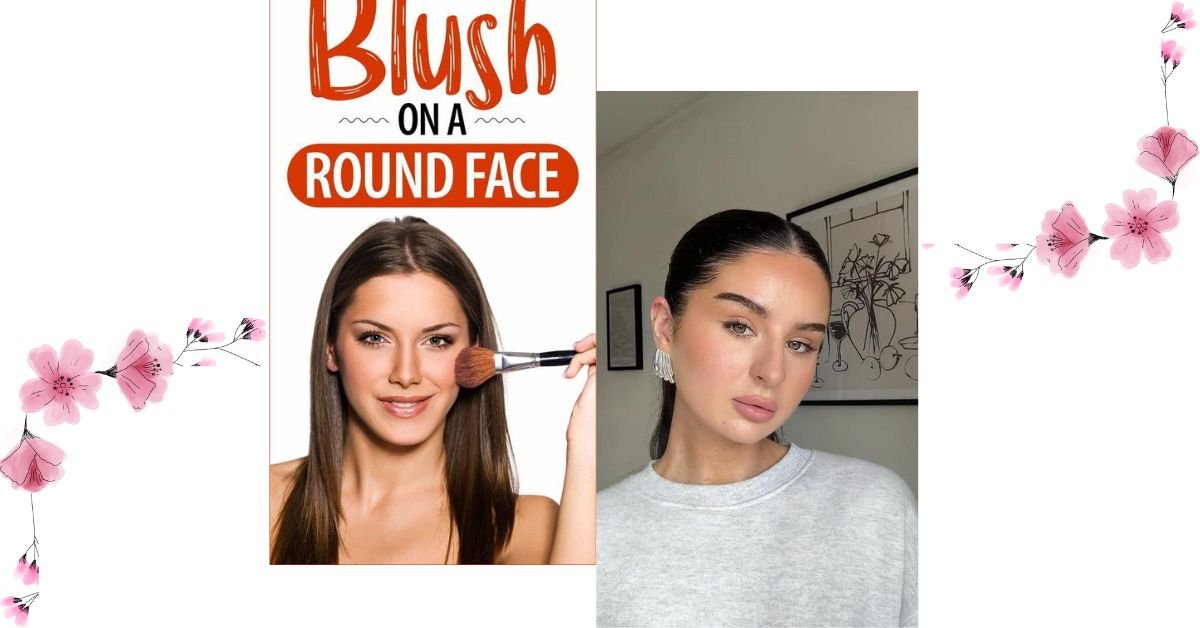
Blush placement for a round face means applying blush in a way that adds shape and balance to your features. The right placement can make your cheeks look lifted and defined. It can also give your makeup a fresh and natural finish.
Blush can change the look of your face more than you may expect. A small change in placement can make your cheeks look higher and your face look more sculpted. You do not need heavy makeup to create this effect.
In this guide, you will learn simple blush placement for round face techniques. We will cover where to apply blush, how to blend it, and which mistakes to avoid. These tips are easy to follow, even if you are new to makeup.
Know Your Face Shape
Knowing your face shape can make blush application much easier. A round face usually has soft features and gentle curves. The cheeks often look fuller, while the face has a similar width and length.
Look at your face in a mirror with your hair pulled back. Notice your forehead, cheekbones, jawline, and chin. If your cheeks are the widest part and your jaw looks soft, you may have a round face.

Your face shape does not need to fit one exact category. Makeup is about enhancing your natural features. Once you understand your face shape, you can place blush in a way that adds gentle definition and a lifted appearance.
Find Your Cheekbones
Finding your cheekbones is an important step before applying blush. They sit under the outer part of your eyes and extend toward your ears. On a round face, they may not look very sharp, but you can still feel them easily.
To find them, gently smile and place your fingers near the center of your cheek. Then move your fingers upward toward the area below your eyes. You should feel a slightly raised bone. This is your cheekbone.
Once you find your cheekbones, use them as a guide for blush placement. Start slightly above the fullest part of your cheek. Then blend the color upward and outward. This simple method can add soft definition without making the face look heavy.
Choose the Right Blush
Choosing the right blush can make your makeup look more balanced. For a round face, pick a formula that blends easily and gives you control. Cream blush can create a soft finish, while powder blush works well when you want more definition.
Think about your skin type before choosing a formula. Cream blush may feel comfortable on dry skin. Powder blush can be useful for oily skin because it gives a more set finish. If you have combination skin, you can choose either based on the area and finish you prefer.
The shade also matters. Soft peach, rose, pink, and warm berry tones can complement many complexions. Choose a color that looks natural on your skin. Start with a small amount and build the color slowly for a fresh finish.
Apply Blush Above the Cheeks
For a round face, applying blush slightly above the fullest part of the cheeks can create a more lifted look. Start near the upper cheek area instead of placing most of the color directly on the center of the cheeks. Use a light hand and build the color slowly.
Keep these simple tips in mind:
- Start with a small amount of blush.
- Place the color above the cheek’s fullest area.
- Blend upward and outward.
- Keep the edges soft and natural.
- Avoid creating a heavy stripe across the cheeks.
This placement adds gentle definition while keeping your makeup fresh. The goal is not to change your face shape. It is simply to enhance your natural cheekbones and create a balanced finish.
Create a Lifted Look
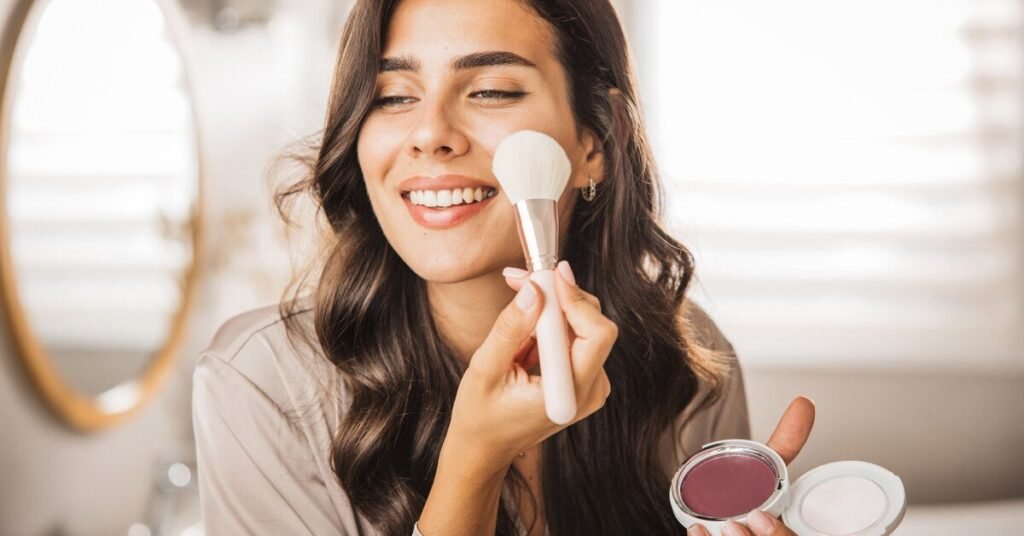
A lifted blush look can add gentle definition to a round face. Place the blush slightly higher on the cheeks. Keep the color away from the center of the face. This helps draw attention toward the cheekbones.
Blend the blush upward and outward toward the temples. Use a light hand and build the color slowly. A soft transition looks more natural than a strong line. You can also blend the edges with a clean, fluffy brush.
| Step | What to Do | Helpful Tip |
| 1 | Start above the cheek area | Avoid placing too much color in the center |
| 2 | Move blush upward | Blend toward the temples |
| 3 | Use light pressure | Build the color slowly |
| 4 | Soften the edges | Use a clean, fluffy brush |
| 5 | Add subtle highlighter | Place it on the upper cheekbones |
| 6 | Check both sides | Make sure the blush looks even |
| 7 | Keep the finish soft | Avoid harsh lines or heavy layers |
Blend Toward the Temples
Blending blush toward the temples helps create a soft, lifted finish. Start with the blush on the upper part of your cheeks. Gently move your brush upward and outward. Use small strokes and light pressure for better control.
Keep the color strongest near the cheekbones. Slowly reduce the pressure as you move toward the temples. This creates a smooth fade instead of a visible edge. Avoid dragging a large amount of blush too far outward.
A fluffy brush can make blending easier. Take a moment to check both sides in natural light. If the color looks too strong, use a clean brush to soften it. The final result should look fresh, even, and naturally blended.
Use the Right Blush Brush
The right blush brush can make application easier and more even. For a round face, a medium-sized angled or fluffy brush can work well. It gives you good control while blending blush upward and outward.
A fluffy brush is useful for a soft, diffused finish. An angled brush can help place color along the cheekbones with more precision. Choose a brush that feels comfortable in your hand and does not have overly stiff bristles.
Use gentle strokes instead of pressing the brush firmly against your skin. Start with a small amount of product and build it slowly. Clean your brush regularly to remove old makeup and keep your application smooth.
Pick Flattering Blush Shades
The right blush shade can make your makeup look fresh and balanced. For a round face, the placement matters more than choosing one specific color. Still, a flattering shade can add warmth and bring your whole makeup look together.
Soft pink, peach, rose, and berry shades can work beautifully with different skin tones. Fair skin often looks lovely with soft pinks and light peach tones. Medium skin can suit rose, coral, and warm pink shades. Deeper skin tones can look vibrant with rich berry, plum, and terracotta shades.
Always consider your natural skin tone when choosing blush. Test a small amount on your cheek before applying more. Build the color slowly and blend it well. A shade that looks natural in daylight will usually give the most effortless finish.
Cream vs Powder Blush
Cream and powder blush can both work well for a round face. The main difference is their texture and finish. Cream blush usually gives a fresh, dewy look. Powder blush often creates a softer and more set finish.
Cream blush is easy to blend with your fingers, a sponge, or a brush. It can look natural when applied in thin layers. Powder blush is useful when you want more control over the intensity. It also works well over a set makeup base.
Your skin type and preferred finish can help you choose between them. Cream formulas may suit dry skin, while powder formulas can be comfortable on oily skin. You can also layer the two formulas for more lasting color. Start with a small amount and blend carefully for an even result.
Build a Natural Blush Look
A natural blush look starts with a small amount of product. Apply the blush to the upper cheek area and blend it upward. Use gentle strokes so the color melts into your makeup. This keeps the finish soft and fresh.
Choose a shade that works with your natural skin tone. Soft pink, peach, rose, or warm berry shades can create a healthy-looking flush. Add the color slowly instead of applying a lot at once. This gives you better control over the final result.
Check your makeup in natural light after blending. The blush should look smooth without a clear edge. If it appears too strong, soften it with a clean brush or sponge. A light touch can give a round face a balanced and naturally lifted appearance.
Avoid Common Blush Mistakes
Blush can look beautiful when it is applied with a light hand. One common mistake is using too much product at once. Heavy blush can make the cheeks look less natural. Start with a small amount and add more only when needed.
Another mistake is placing the blush too low on the cheeks. This can make the face appear less lifted. Avoid harsh lines by blending the color upward and outward. Also, choose a brush that helps you control the amount of product.
Keep these simple tips in mind:
- Do not apply too much blush at once.
- Avoid placing most of the color too low.
- Blend the edges carefully.
- Match the blush shade to your skin tone.
- Check your makeup in natural light.
- Clean your brushes regularly.
A good blush application does not need to be complicated. Take your time and build the color slowly. With practice, you can create a soft finish that complements your natural features.
Finish Your Makeup Look
After applying and blending your blush, take a moment to check the overall makeup. Make sure both cheeks have a similar amount of color. If one side looks stronger, soften it with a clean brush or sponge.
Add the final touches that suit your look. A small amount of highlighter on the upper cheekbones can add a soft glow. Keep the rest of the makeup balanced so the blush remains natural. Avoid adding too many layers.

Finally, check your makeup in natural light. The blush should blend smoothly with your skin and other products. A soft finish can enhance your features without looking heavy. With the right placement and blending, your round face can look fresh and beautifully defined.
Conclusion
Blush placement for a round face does not have to be difficult. Place the blush slightly higher on your cheeks and blend it upward toward the temples. Choose a shade that suits your skin tone and use a light hand. These simple steps can add soft definition and a fresh finish.
Remember that makeup should work with your natural features. Practice different placements to find what feels best for you. With the right brush, gentle blending, and a little patience, you can create a balanced and beautiful blush look.
FAQs
1. Where should blush be placed on a round face?
Apply blush slightly above the fullest part of your cheeks and blend it upward toward the temples.
2. Should you put blush directly on the apples of round cheeks?
You can, but placing most of the color higher on the cheeks can create a more lifted appearance.
3. Which blush shade is best for a round face?
Soft pink, peach, rose, and berry shades can work well. Choose a shade that complements your skin tone.
4. Is cream or powder blush better for a round face?
Both can work well. Cream blush gives a fresh finish, while powder blush can provide a softer, more set look.
5. How can I make blush look natural on a round face?
Use a small amount of blush and blend it gently upward and outward. Build the color slowly for a smooth finish.