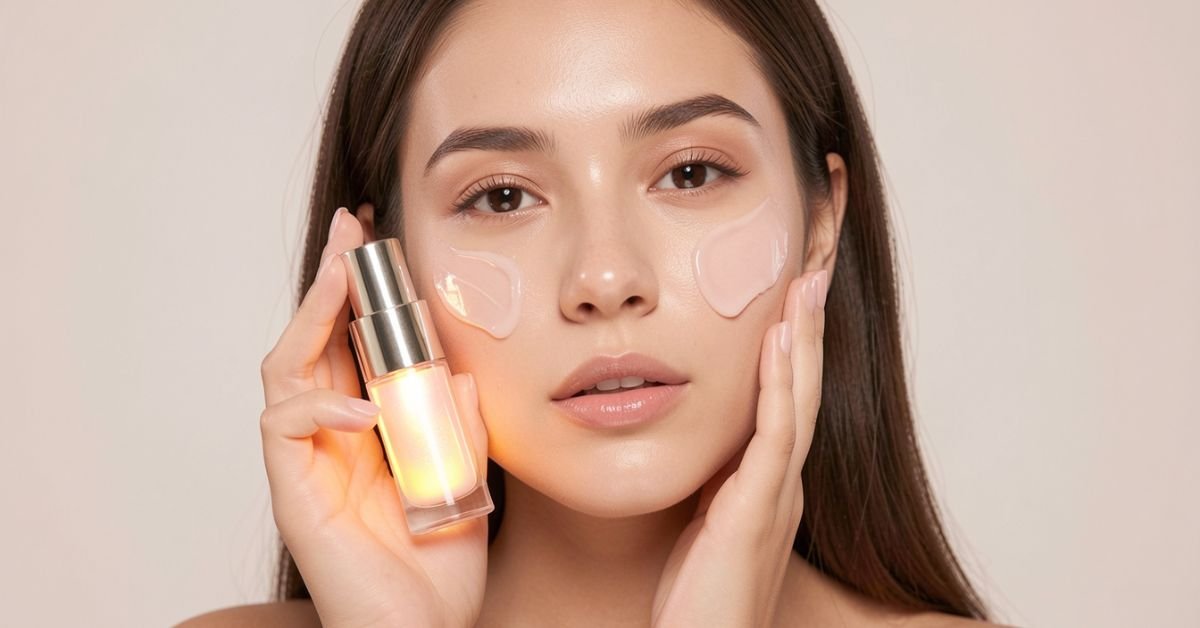
A liquid glow illuminator is a thin, lotion-like makeup product that adds a soft shine to your face. It usually comes in a small bottle or dropper. Unlike dry powder highlighters, it melts right into your skin so your face looks fresh and healthy rather than powdery or heavy.
Most of us want skin that looks bright and fresh, but getting that look can feel tricky. If you are new to makeup, liquid products can feel a bit scary to try. It is easy to worry about looking greasy, choosing the wrong shade, or accidentally putting on way too much.
The good news is that liquid illuminators are actually very easy to control once you start. You can mix a tiny drop into your daily moisturizer, tap a little on your cheeks, or wear it on bare skin. This simple guide will show you exactly how to use it step by step without any mess.
What Is a Liquid Glow Illuminator?
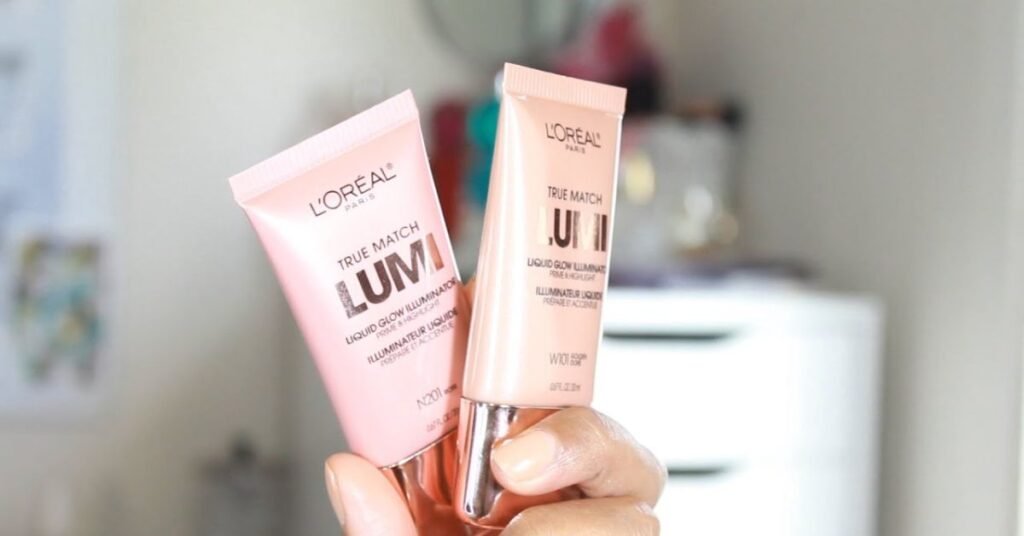
A liquid glow illuminator is a liquid makeup product that makes your skin look bright and shiny. It comes in a small bottle, tube, or dropper. It contains tiny particles that catch the light softly. This gives your skin a wet, glossy look instead of a dry or dull appearance.
Unlike heavy powder makeup, this liquid blends easily into your skin. You can mix it with your regular moisturizer or foundation for an all-over shine. You can also tap a few small drops directly onto your cheeks and brow bones. It feels very light and does not weigh down your face.
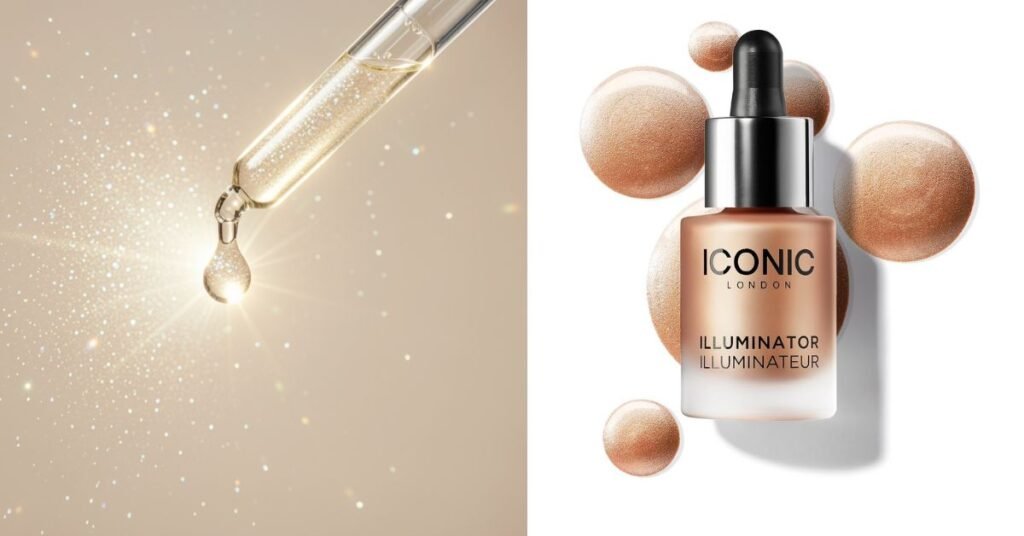
This product works great for all skin types, especially if your skin feels dry. It helps you get that popular fresh, healthy skin look in seconds. It is very easy to use, even if you are just starting out with makeup.
Liquid vs Powder: Which Is Better?
Liquid illuminators give you a soft, natural shine that looks like your real skin. They melt right into your face without clinging to dry spots or fine lines. Because they are liquid, they leave behind a dewy, hydrated finish that looks very fresh in natural daylight.
Powder highlighters, on the other hand, offer a much bolder and brighter shine. They sit on top of the skin rather than blending into it. While powders are great for heavy glam or night outs, they can sometimes look cakey or highlight rough texture if your skin is dry.
If you want an everyday, subtle glow that is easy to blend, liquid is definitely the better choice for beginners. Powder works best if you have oily skin or prefer a strong, dramatic shimmer. For a light and natural look, liquid wins every time.
How to Pick the Right Shade
Picking the right shade is the secret to getting a natural, healthy glow instead of looking ashy or greasy. The general rule is simple: choose a color that matches the natural undertones of your skin. If you go too light, the illuminator will stand out like a bright stripe on your face.
For fair to light skin tones, soft pearl, icy champagne, or pale pink shades work best. These lighter tones blend seamlessly into pale skin without adding dark patches. If you have medium or olive skin, warm golden, peach, or rose gold shades look beautiful and bring out your natural warmth.
For tan to deep skin tones, rich bronze, copper, and deep gold shades are ideal. These deeper colors add a gorgeous, sun-kissed warmth without leaving a grayish cast on your skin. When in doubt, swatch a tiny drop on your jawline in natural light to see which shade melts right in.
4 Easy Ways to Apply It
Liquid glow illuminators are super flexible, so you do not have to stick to just one method. You can easily tweak how you apply it depending on how much glow you want that day. Whether you want an all-over radiance or just a tiny touch of shine on your cheeks, there is an easy way for every routine.
Here are four beginner-friendly ways to use your liquid illuminator:
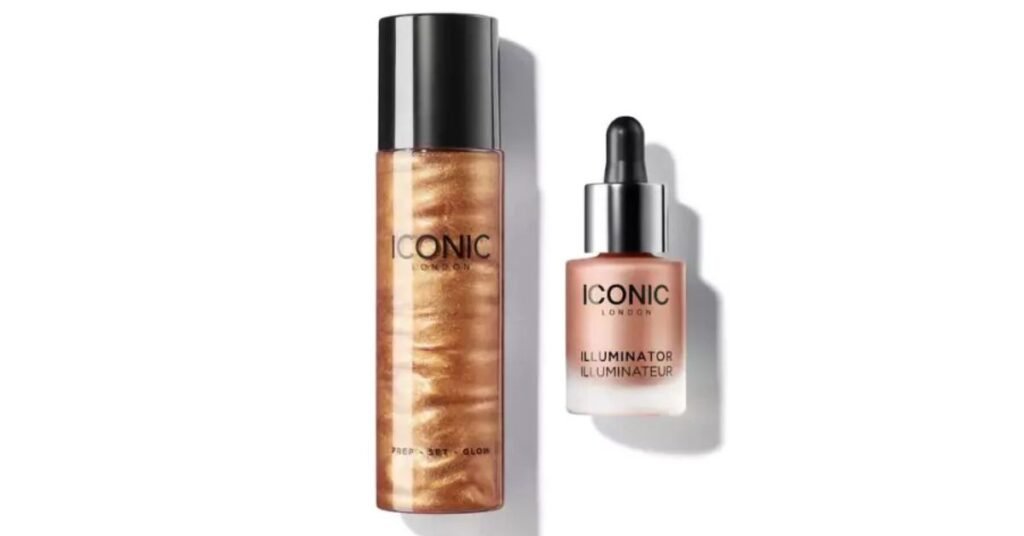
- Mix it with moisturizer: Add one tiny drop to your daily cream for a subtle, makeup-free glow on bare skin.
- Mix it with foundation: Blend a drop into your liquid foundation before applying it to get a soft, dewy finish all over.
- Tap on high points: Drizzle a little on the top of your cheekbones, nose bridge, and brow bones after finishing your base makeup.
- Use as a glowing primer: Smooth a thin layer over your entire face before your foundation to create a soft, lit-from-within base.
Step 1: Prep Your Skin
Good skin prep is the key to making your liquid illuminator look smooth and natural. If your skin is dry or flaky, liquid illuminators can cling to those patches and look uneven. Starting with a clean, hydrated face creates a smooth canvas so the product melts right into your skin.
Start by washing your face with a gentle cleanser to remove any oil or dirt. Next, apply a light moisturizer while your skin is still slightly damp. This locks in hydration and gives your illuminator something smooth to blend into. If you have dry skin, do not skip this step, as hydrated skin naturally boosts that dewy finish.
Finally, give your moisturizer a minute or two to sink in before moving on to makeup. If your face feels sticky, wait a moment longer so your base does not pill or smudge. Once your skin feels soft and plump, you are completely ready for your glow!
How to Mix It with Foundation
Mixing your liquid illuminator directly with your foundation is the easiest trick for an all-over, natural glow. Instead of adding shine to just a few spots, this method softens your foundation and gives your entire face a healthy, dewy look. It is perfect for everyday wear when you want your skin to look fresh and hydrated.
To get started, pump your usual amount of liquid foundation onto the back of your clean hand or a mixing palette. Add just one small drop of liquid illuminator right next to it. Use a clean finger or a brush to mix the two products together until the color looks completely smooth and even.
Be careful not to add too much illuminator at first, as a little goes a long way. If you add too much, your foundation can lose its coverage or end up looking oily instead of glowing. Apply the mixture to your face using your favorite sponge, brush, or fingers, and blend it out as you normally would.
Quick Mixing Guide for Different Skin Goals
| Your Skin Goal | Foundation Amount | Illuminator Amount | Best Application Tool |
| Subtle Daily Glow | 1 full pump | 1 tiny drop | Beauty Sponge |
| Dewy & Radiant Skin | 1 full pump | 2 small drops | Stippling Brush |
| Glass Skin Look | 1/2 pump | 2 drops | Clean Fingers |
| Sheer Tinted Finish | 1/2 pump + Moisturizer | 1 drop | Beauty Sponge |
Where to Apply on Your Face
Knowing where to place your liquid illuminator makes all the difference between a lifted, healthy glow and an oily look. The goal is to focus on the high points of your face, the areas where natural light hits first. Targeting these specific spots gives your face a natural, sculpted look without making your entire skin look shiny.
Start by dabbing a tiny amount on top of your cheekbones, blending upward toward your temples. Next, tap a small dot onto the bridge and tip of your nose, as well as right under your brow bones to open up your eyes. If you want your lips to look fuller, add a tiny drop right on your Cupid’s bow the dip just above your upper lip.
Keep the product away from areas with large pores, active breakouts, or textured skin, as shine can draw attention to them. Also, avoid putting an illuminator on your forehead or chin if you tend to get oily throughout the day. By keeping it strictly on the high points, your skin will look naturally radiant and fresh all day long.
Do You Need Special Brushes?
The short answer is no, you do not need expensive or fancy brushes to apply liquid glow illuminators. In fact, your own fingers are often the best tool for the job. The natural warmth from your fingertips gently warms up the liquid, helping it melt seamlessly into your skin for a soft, natural finish. Just make sure your hands are clean, and gently tap never rub the product onto your skin.
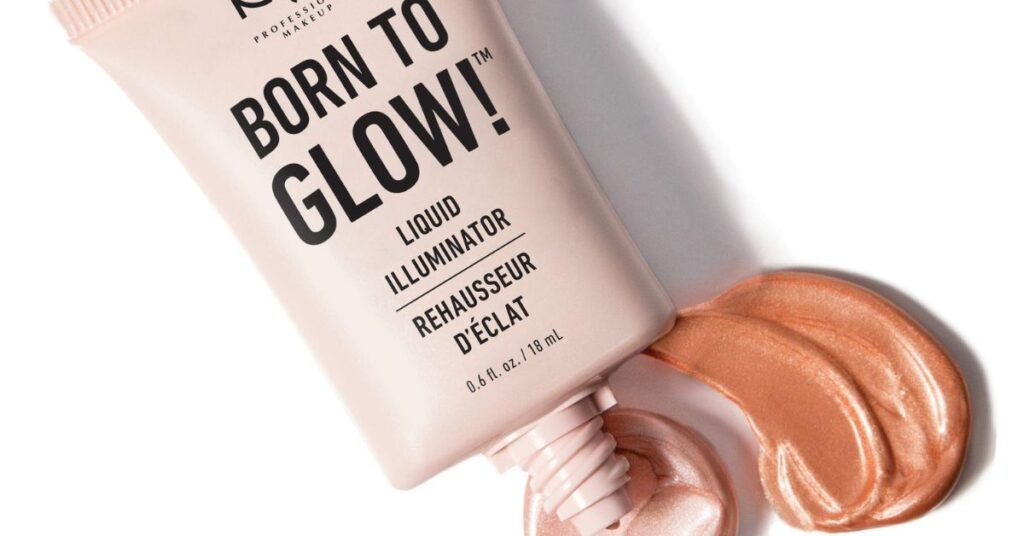
If you prefer using makeup tools, standard items you already own will work perfectly. A damp beauty sponge is ideal if you want a subtle, seamless blend without any harsh lines. For a slightly more intense glow, a small synthetic brush or a stippling brush works great because synthetic bristles do not soak up liquid product like natural hair brushes do. Use whatever tool feels most comfortable for you!
Rookie Mistakes That Ruin the Glow
Even with the best product, a few simple slip-ups can turn a fresh, natural glow into a greasy or patchy mess. The most common error is applying way too much liquid illuminator at once. Because these formulas are concentrated, starting with a large pump can leave your face looking sweaty rather than dewy. It is always better to start with a tiny dot and build up only if you need more shine.
Another major mistake is layering liquid illuminator directly on top of setting powder or dragging it across your skin. Applying liquids over powder causes the makeup to clump, cake, and lift your foundation underneath. Instead, always pat liquid illuminator onto skin before setting powders, and gently tap never rub it into place using your fingertips or a damp sponge for a seamless blend.
Easy Tips for All-Day Wear
To make your liquid illuminator last all day without looking greasy, skin preparation and strategic setting are key. Start by applying a gripping primer before your makeup to give the liquid illuminator something to cling to. Instead of covering your high points with heavy powder, use a translucent setting powder only on your T-zone like your forehead, nose, and chin where oil usually builds up. This keeps your shine in the right places while preventing unwanted oiliness.

To lock in your look for long hours, finish your makeup routine with a dewy or hydrating setting spray. A fine mist helps seal the liquid illuminator into your skin, keeping it fresh and preventing it from fading or settling into fine lines as the day goes on. If your skin gets a bit shiny later in the day, simply use oil-blotting papers to press away excess oil without wiping away your natural glow.
Conclusion
Using a liquid glow illuminator is one of the easiest ways to get fresh, dewy skin without a lot of effort. Whether you mix a drop into your foundation or tap it onto your cheekbones, it instantly brightens your face and gives you a healthy shine. The key is to start small, blend gently, and place it where natural light hits your face.
Do not be afraid to experiment with different methods until you find what works best for your daily routine. With just a little practice, applying a liquid illuminator will feel like second nature. Grab your favorite bottle, follow these simple steps, and enjoy your effortless, natural glow!
FAQs
1. Can I use a liquid glow illuminator on bare skin?
Yes, you can apply a drop directly to moisturized skin or mix it into your daily cream for a soft, makeup-free glow.
2. Will a liquid glow illuminator make oily skin look greasy?
Not if you use a tiny amount and place it only on your high cheekbones, keeping it away from your oily T-zone.
3. Do I apply liquid glow illuminator before or after setting powder?
Always apply it before powder so the liquid blends smoothly into your skin without clumping or caking.
4. How is a liquid glow illuminator different from a liquid highlighter?
An illuminator gives a softer, all-over sheer radiance, whereas a highlighter is more concentrated for a sharp, intense shine.
5. What is the best tool to apply a liquid glow illuminator?
Your fingertips are best because their warmth melts the product right in, though a damp sponge works great for a sheer finish.